Sourdough stuff
In essence, the only things you need to bake sourdough are flour, water, a happy sourdough starter, some salt, a bowl, a scale, and a baking tray. And a spot of patience, but you can’t buy that…
Of course, there are many items that can make the process easier, so that’s what this post is about. Along the way, I’ll include some tricks and workarounds. Sourdough is incredibly forgiving, as long as your starter is happy, the dough will not care what receptacle it rises in, or what utensil you use to mix it!
Let’s start at the very beginning…
“A very good place to start!”
A happy, active sourdough starter is crucial to good sourdough bread. If you want to learn more please refer to the recipes tab or starter maintenance blog.
Flour power!
The most important part of sourdough is the flour you use. Protein percentage is a good place to start because gluten, which is essential in good bread, is a protein. Typically anything with a protein percentage of ~13% should be decent. However, as many bakers will tell you, protein percentage is not everything. I have used off-the-shelf bread flour in South Africa with 12% protein that would just not build any gluten strength; but I have used bread flour in France with 11% protein that made the most beautiful, smooth dough. Depending on where you live and what flour you have access to, you may have to do a bit of experimenting to see what works well. Short of doing an international tour of trying out flours, (which don’t get me wrong, I would love to do but can’t afford) that’s about all I can tell you.
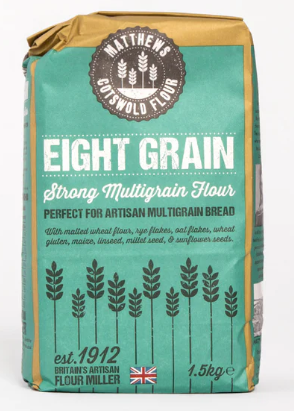
What I can tell you, however, is what flour I use. Approximately 98% of the time, you’ll find me using flour from Matthews Cotswold flour. If you’ve watched Clarkson’s Farm on Amazon Prime Video, the mill that bought their wheat was Matthews.


Matthews Cotswold flour (Est. 1912) is a family-run flour mill. It’s been in the same family for eight generations and they specialise in sustainable, organic, stoneground and British flour, with a focus on regenerative farming techniques.

I had the best time visiting the mill in September 2023, and got to meet Bertie!
All the products from Cotswold Flour are amazing quality and make for fantastic bread! While I really like their standard strong white bread flour and use it often, I asolutely love their speciality flour blends! My top three are definitely Cotswold Crunch, Eight Grain, and the Malted Cotswold Rye.


I cannot recommend Cotswold Flour enough - and I don’t recommend things just for the sake of it! If you’d like to try their flour, here is a 10% discount code that you can enter at checkout, IVYQYXEMBN, or follow the link below:
Please note that at present, Cotswold Flour delivers only to the UK mainland (free delivery on orders over £50) excluding the Highlands and Islands.
Don’t be a tool
I like a Pyrex bowl, but that’s personal choice. Metal or plastic work too, and even wood is fine!

If you want to be fancy, you can get a dough whisk, but a fork works just as well.
Between folds/mixes, and while proofing, you want to cover your dough bowl to protect it from oopsies/cat hair and whatnot, but also to prevent it from drying out.
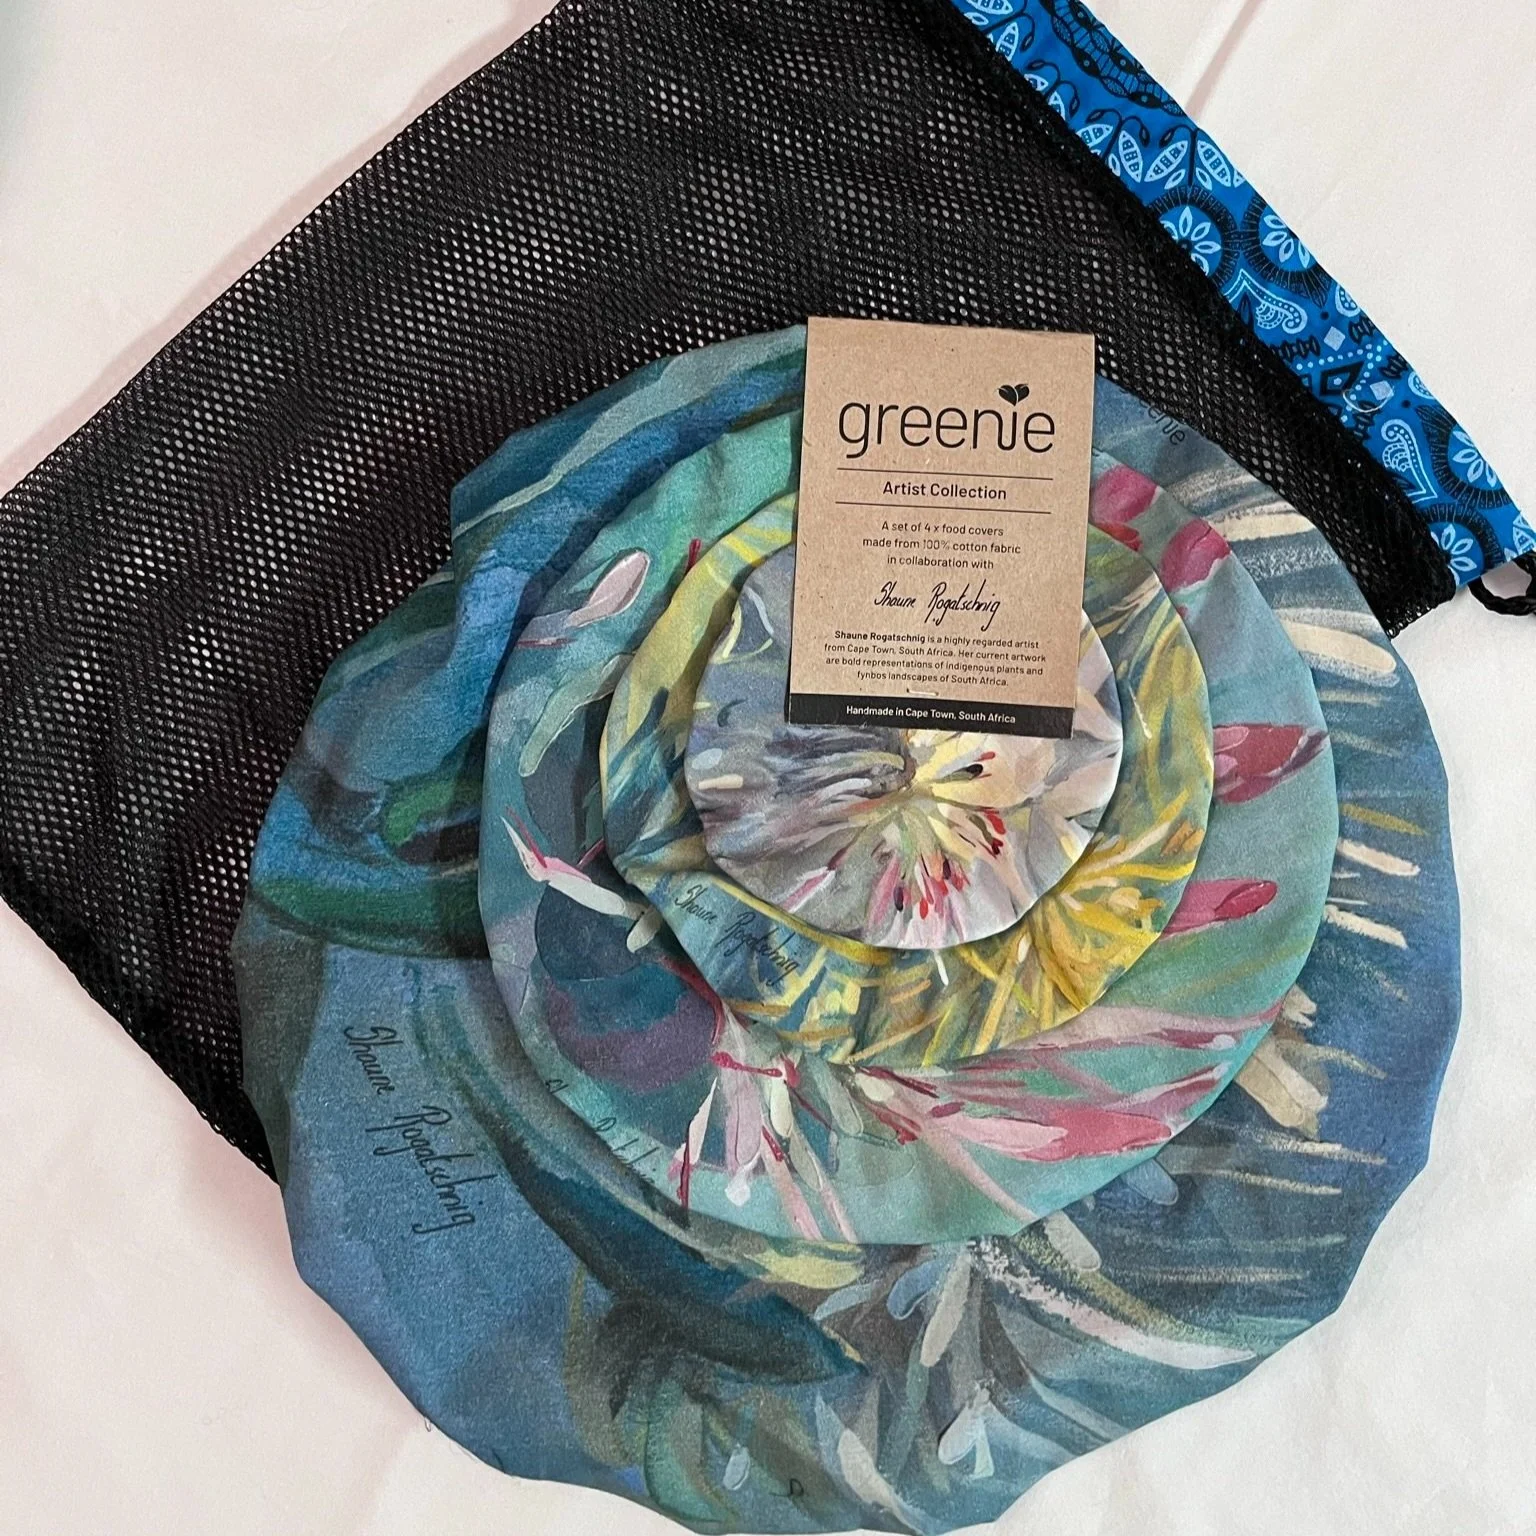
I have two sets of gorgeous bowl covers in various sizes from Greenie.
Greenie is a South African company that focuses on providing eco-friendly solutions for the kitchen that reduce pollution created by single-use plastics! They sell the most beautiful locally handmade cotton reusable bowl covers, perfect for sourdough, with gorgeous artwork by South African artist, Shaune Rogatschnig, who you can follow on Instagram here.
In South Africa, you can buy Greenie products directly from their website or from partenered outlets like Little House Boutique. If you’re based in the United States, you can buy Greenie products and get them shipped to your door by visiting their USA site!
An easy alternative to beautiful bowl covers is the humble showercap! I have a few that I bought specifically for baking, but you can often pick them up for free in hotels!
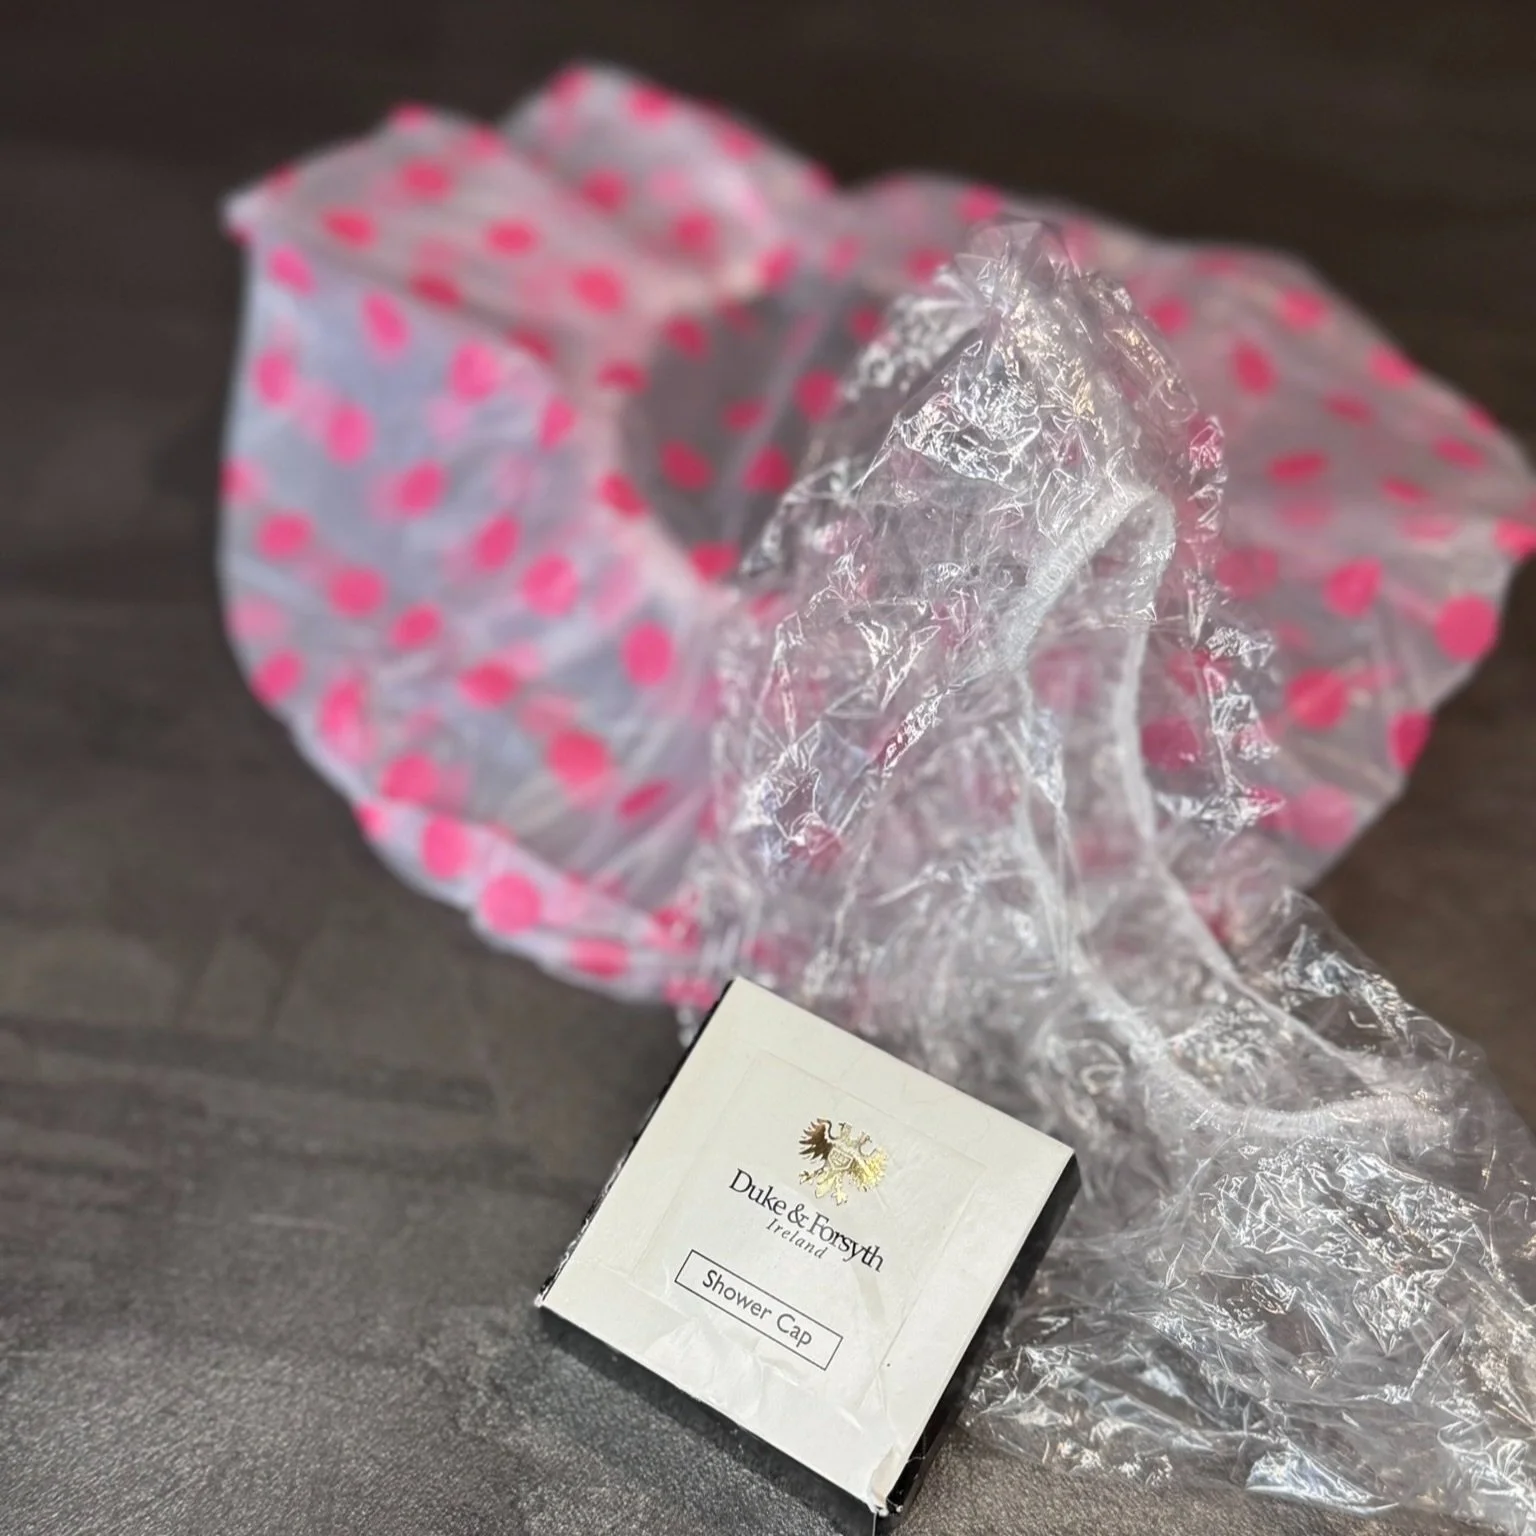
Free hotel ones are great, but they won’t last long, they often rip along the elastic after a few uses.
Rockabye baby bread
During proofing is your chance to coax your dough into whatever shape you want you loaf to be: oval or round. The vast majority - icluding myself - use a bamboo/wood pulp bread proofing banneton. However, there are other cheaper and easier options.

You can get these online at Amazon, or at a shop like Lakeland or, if you’re based in the USA, Superbaking.
Most bannetons come with an elasticated linen liner which you can use to line the banneton, dust with flour, and place the dough in to stop it sticking to the banneton itself.

I find the linen linings a bit bulky, and I also find they hold moisture which can lead to mould growing in your bannetons if you’re not really careful.
I use disposable mesh hairnets to line my bannetons. They’re lightweight, reusable, and don’t leave any crease marks in the dough.
There is a workaround for this. If you don’t see yourself baking sourdough all that often, or you simply can’t be bothered to buy a banneton, you can use a bowl lined with a lightly floured tea-towel.
I did this in lockdown when I was just starting out and had no bannetons. I used a bowl for a round loaf and a small metal planter for batards.
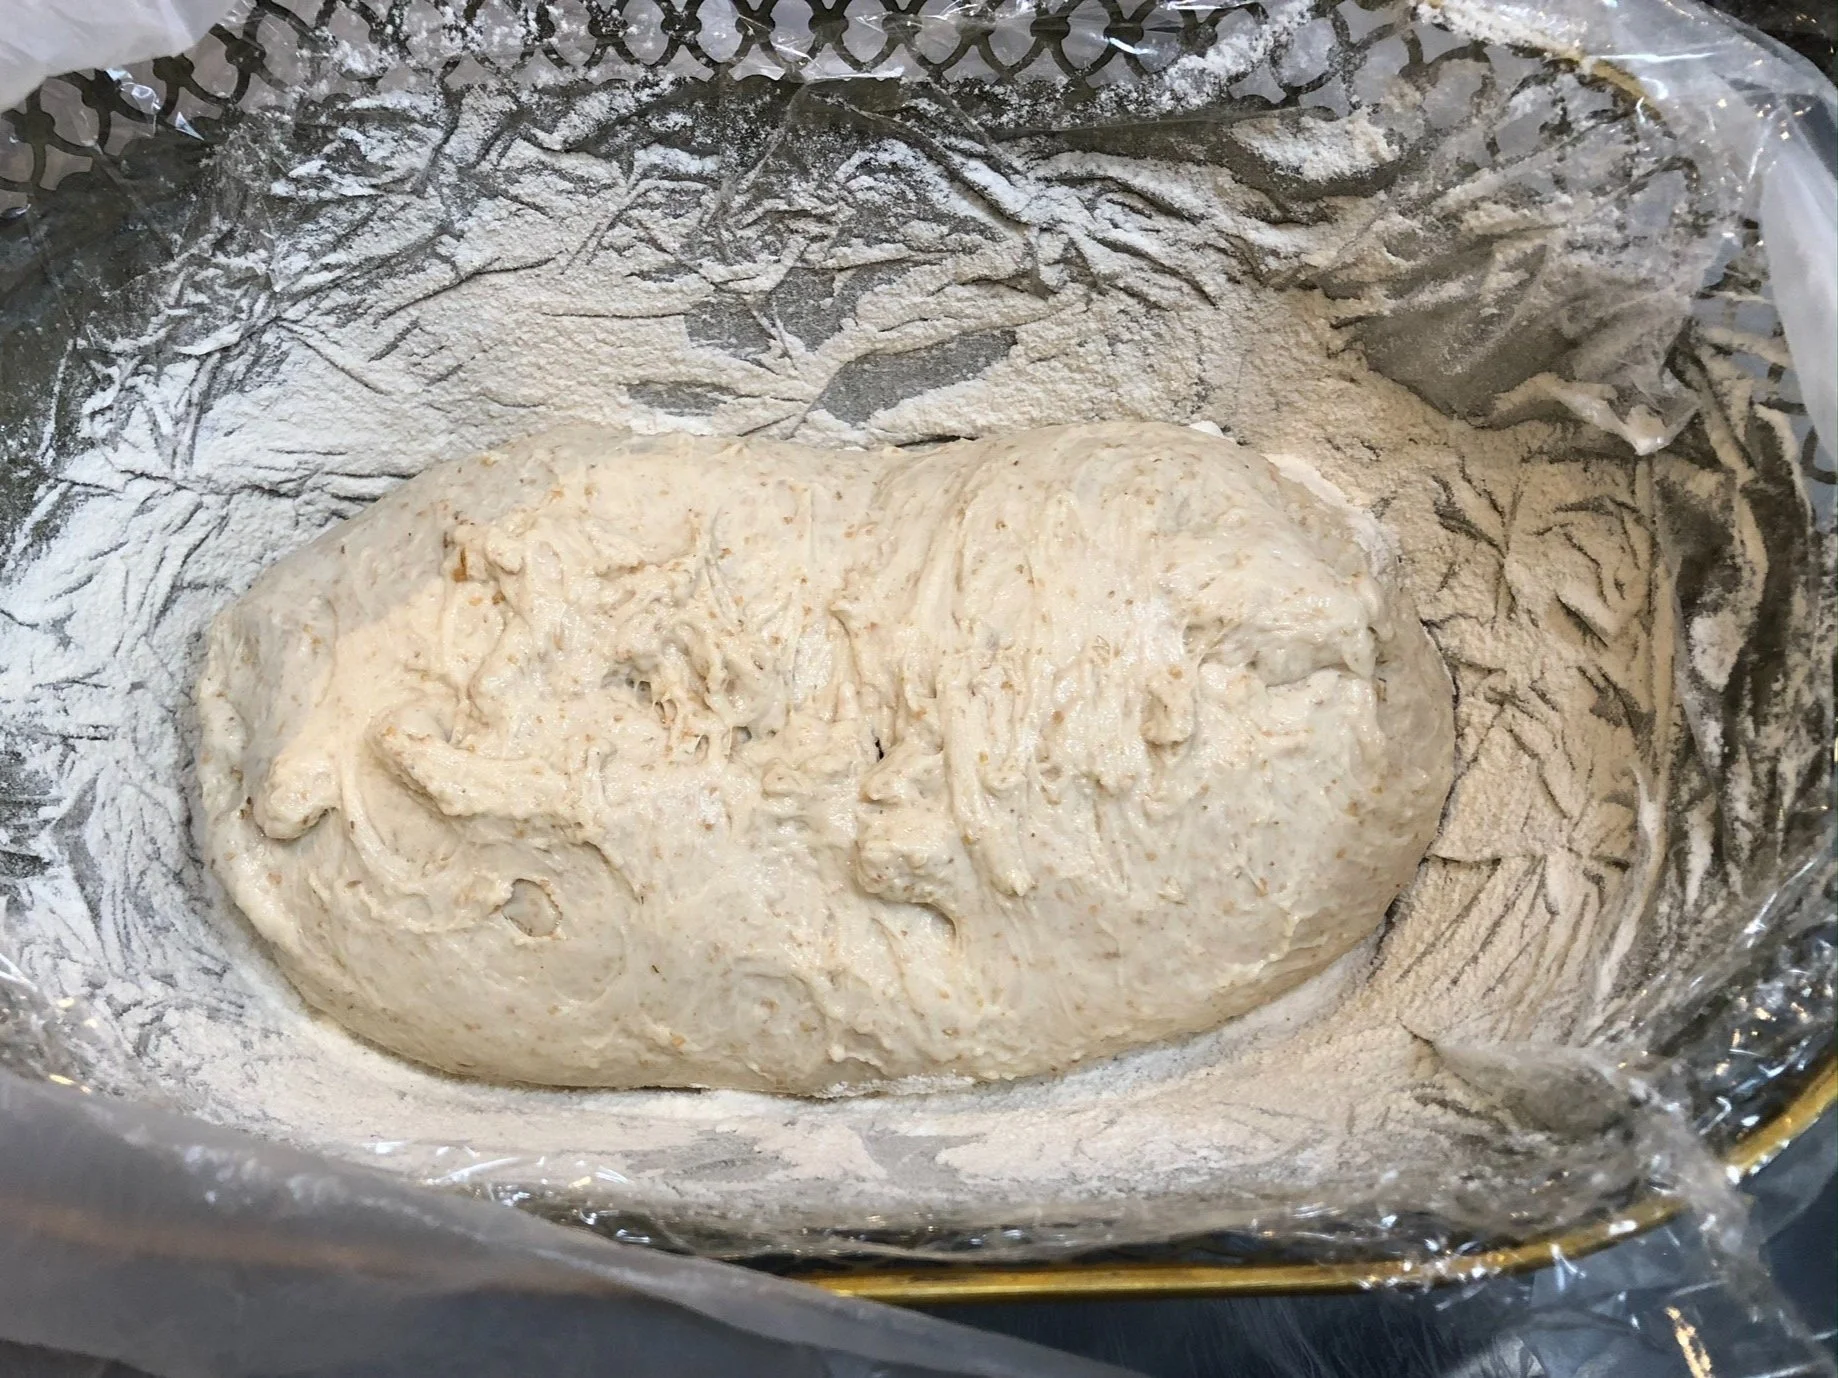
This was a small metal planter that I had in lockdown. I lined it with clingfilm, dusted it with flour and successfully made gorgeous batards!
You can (and many do) use just normal plain flour or bread flour to dust the of your banneton/bowl before placing the dough inside. However, I prefer using rice flour as it tends to absorb less moisture and doesn’t colour in the oven, leaving your scoring design looking crisp and gorgeous!

I like this rice flour from Doves Farm.
Loaf Launchpads
There are a couple different methods of baking sourdough, most of which include first tipping the loaf out of the banneton/receptacle onto some kind of surface which then allows you to more easily transfer it to a preheated pot/tray/pizza stone later for baking.
When I first started out baking sourdough, I would just use a sheet of baking paper cut to size, and it worked perfectly. (Although I went through a lot of baking paper!)

I would trace and cut out an oval of baking paper ~the size of the base of my pot, making sure to leave some tabs on the end to help place the dough into the pot and take it out again.
Now that I’ve been baking sourdough for nearly 5 years, I have two silicone bread baking mats from The Bread Mat and they are amazing! If you want to treat yourself with a durable, reusable, and photogenic alternative to baking paper, then check out The Bread mat:


I have also used these silicone bread baking mats from Bread Basics.
Cut Above the Rest
Right before popping your sourdough into the oven, it’s important to score the dough. The reason behind this is not only decorative, but functional too.
When you score a sourdough loaf, sure you can make a pretty pattern of smaller shallow cuts, but the main, deeper score is even more important. This score line gives the dough a pre-defined point of weakness, so when the dough starts expanding in the oven, it opens up along the score line you’ve created, resulting in a beautifully expanded loaf.
If you don’t give the loaf a point of pre-defined weakness, two things can happen:
the loaf will blow up in the oven like a ball, but not expand as much as it could, and consequently will have a tighter crumb structure.
the loaf will find its own point of weakness, burst and expand thorugh any random spot, leaving you with a loaf that looks…alien-esque.
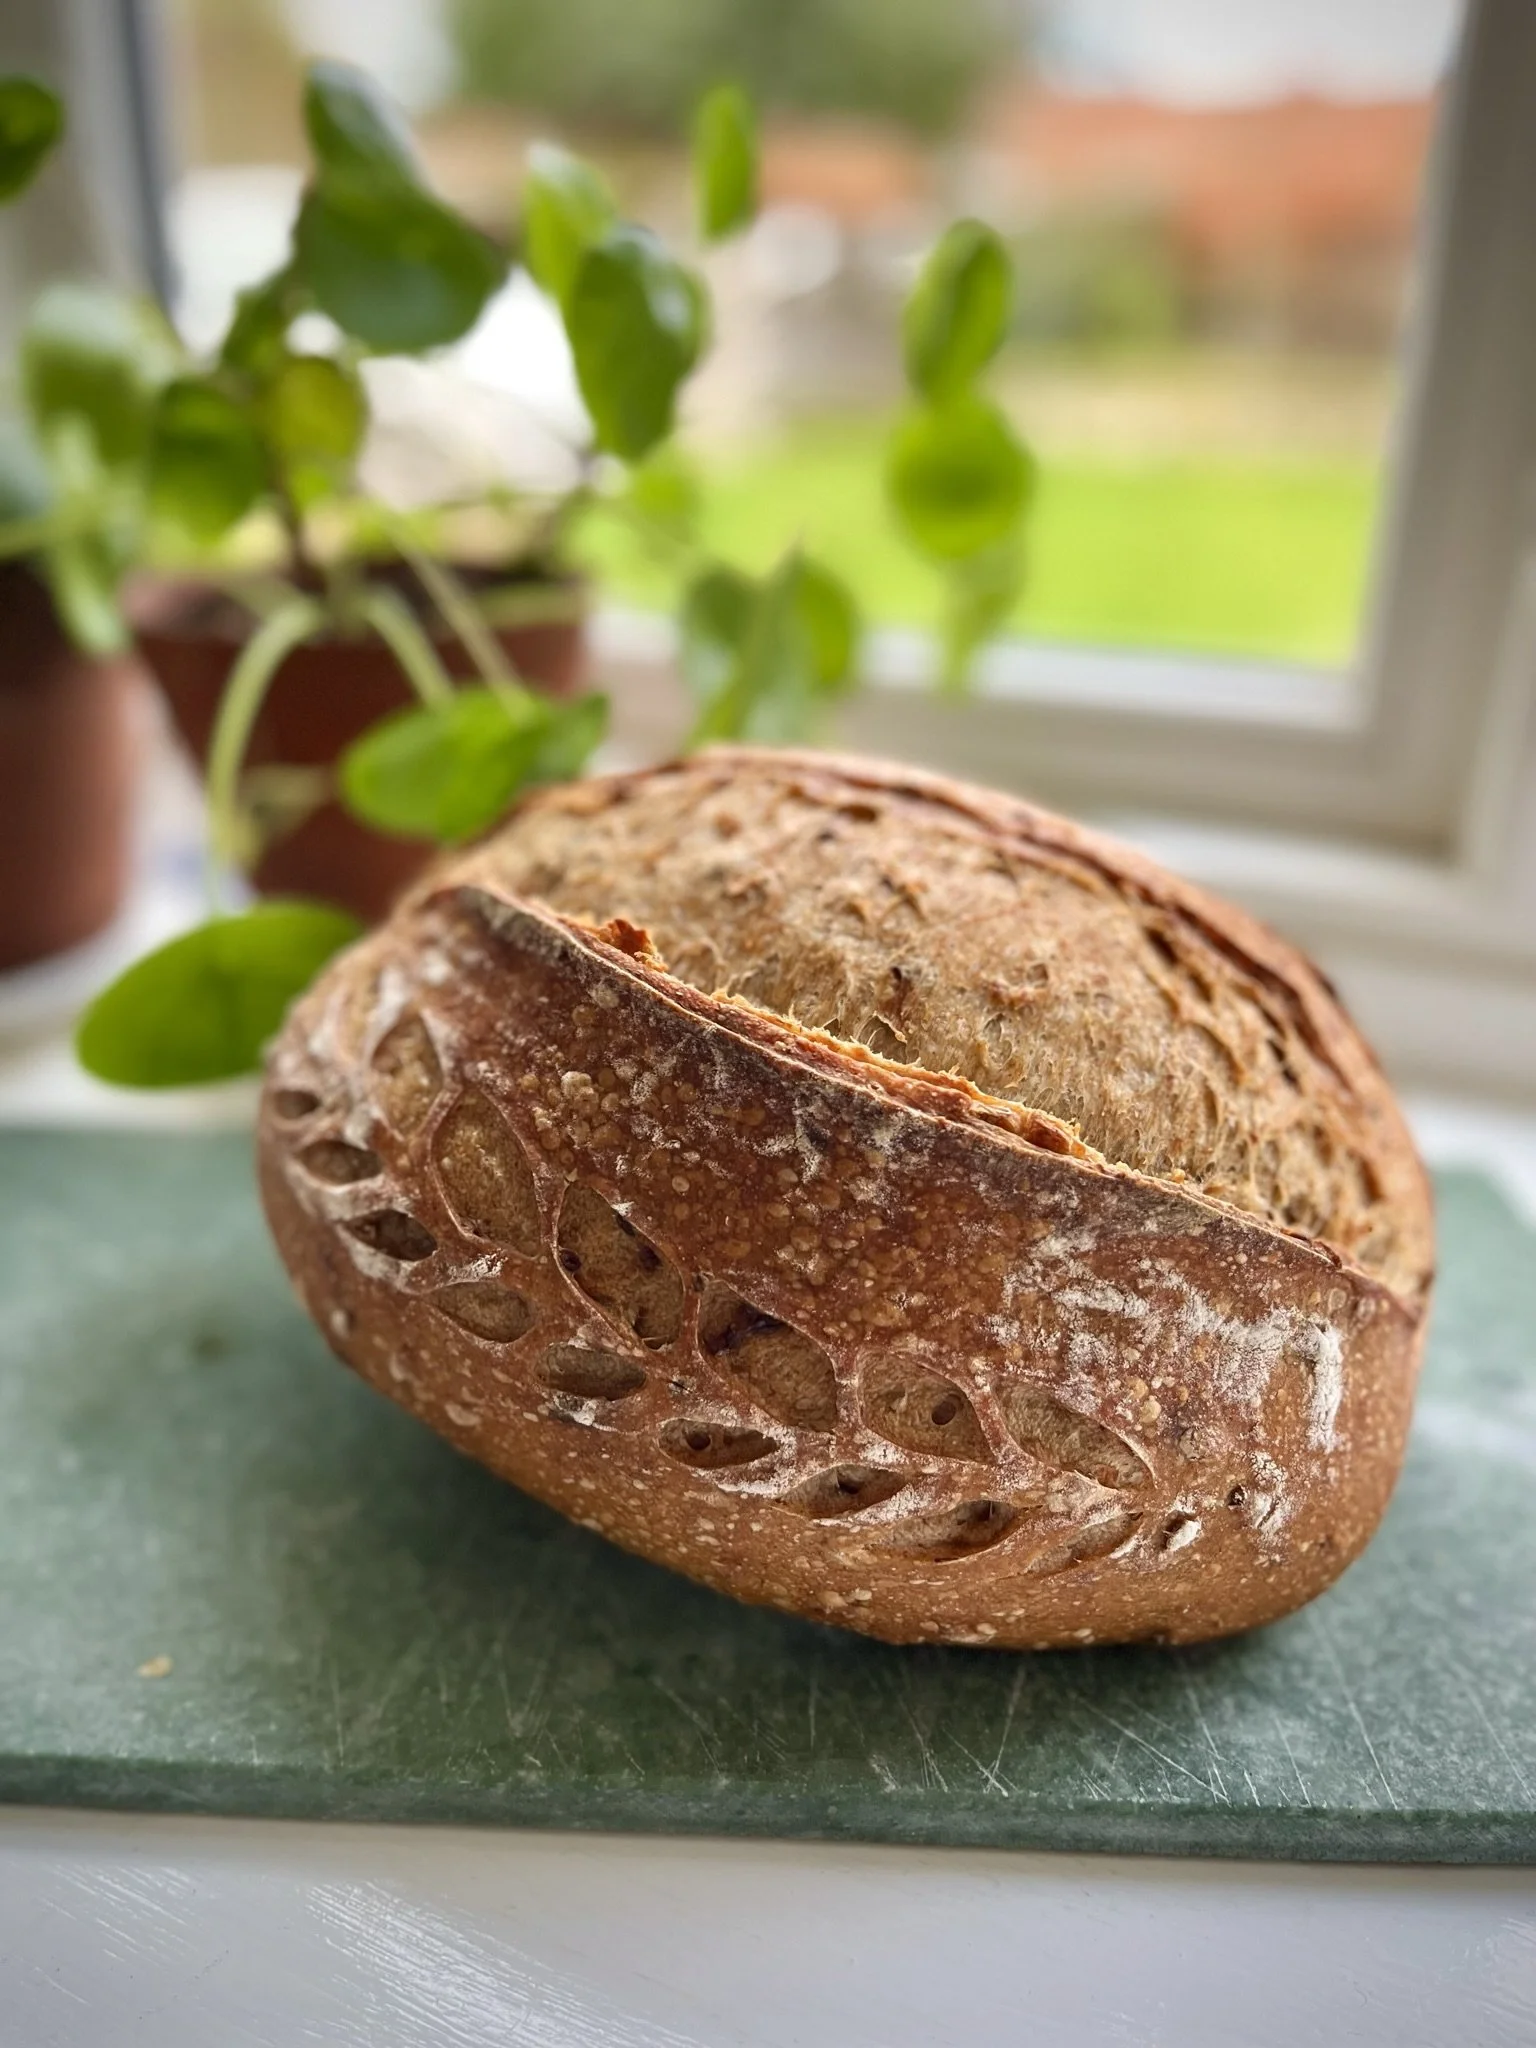
If you’re not feeling artistic, you can go as simple as a single deep score down the middle. If your creative juices are flowing, go nuts and try whatever!
You can have all sorts of fun with scoring designs, shaping, seeds, edible flowers, and stencils!


Making the cut
As I said, scoring the dough is important, as is the tool you use to do it. But really, the only important quality is that whatever blade you use is super sharp!
When I was first starting out, I used the sharpest kitchen knife I could find. This worked great until I wanted to try score some patterns. Then, I needed something sharper,
The tool that most sourdough bakers use to score their loaves is known as a ‘bread lame’. Very simply, it’s a double-edged disposable razor blade secured in a holder.

You can buy these blades at most supermarkets/pharmacies as men’s shaving refills.
I used to buy blades from Sainsbury’s, cut a slot in a wine cork and use some tape and superglue to hold it together. Later, when I got lazy, I just taped up half the blade with masking tape. It worked pretty well!
As I have mentioned, my dad is a man of many talents. One of which is making beautiful knives from scratch. A few years ago, he made me my very own bread lame, with a handle carved from pink ivory wood and a lovely handmade leather sheath. He customised the handle for my hand by sanding down imprints of my thumb and fingers, and it is still my favourite scoring tool!

The removable screw means the blade can pivot into the handle for storage, and can be easily changed!
I was also gifted two beautiful handmade lames from IG: @grenyadors.carlosqueralt. One was made from the wood of an olive tree more than 100 years old which was burned in a fire. Carlos recovered the wood and used it to make some gorgeous bread lames.
Carlos also included a South African flag on both of my lames!


Gettin’ baked
There are three main ways people say you can bake sourdough bread. Two of them require a not-insignificant equipment investment. The third you can probably do with what you already have. What you decide to do, is entirely up to you. Your options are:
a dutch oven
a pizza stone
a good old baking tray and some steam
The main draw of a dutch oven is the fact that it has a lid. This means that you score your dough, place it in the preheated dutch oven, pop the lid on and put it in the oven. The lid means that all the steam that’s released from the dough while it’s baking stays inside the pot. This keeps the outer crust of the dough soft and supple which means that the dough can expand with relative ease, allowing the loaf to rise well and resulting in a lovely open crumb.
The same effect can be achieved using a pizza stone or baking tray, but you have to add in the steam. The easiest way to do this is by preheating a shallow tray in the bottom of the oven, and then when you pop your dough on the pizza stone/tray, before you close the oven, pour some water into the hot tray and close the oven door. This produces a similar steam effect. As I understand it (since I’ve never used a pizza stone), the main advantage of a pizza stone is its thickness, which allows a more even heat distribution to the bottom of the loaf.
Something you do have to be careful of when baking sourdough on a tray/pizza stone without a lid is the amount of heat coming from the top element of your oven down to the top surface of your dough. Normally, the lid of your dutch oven would protect your bread from this. Without a lid, you should consider placing an extra baking tray high up in your oven or covering the loaf with a sheet of tinfoil, shiny-side out after about 20mins, to reflect some of the heat.
Le Creuset pots are very popular for sourdough. I have a fiery orange ~28cm one that I got secondhand on Facebook Marketplace, because they are very pricey new! If you have your heart set on Le Creuset, it’s worth checking ebay or even Vinted!
For Christmas three years ago, my amazing husband bought me a cherry-red Emile Henry bread pot, which is what I primarily use now. I especially love that the base is flat, which means my scored dough doesn’t get distorted when I lift it into the pot.


Too hot to handle
During my ~5 years of sourdough baking, I have burned myself too many times to count. The best way to avoid following in my singed footprints is to religiously use an effective pair of heatproof oven gloves.
I have gone through many pairs of fabric insulated oven gloves in the last few years. I have also burnt through most of them... Their main draw is that they come in cute patterns, plus I grew up with fabric oven gloves in my parents’ house. But, if you really want to prevent burns, you need something better and more durable than fabric oven gloves.

These liquid silicone oven gloves from Lanon are amazingly heat resistant, and non-stick to boot! They also go further up your arms than traditional oven mitts, keeping you safe from burns!
If you’re keen to try your very own pair of Lanon Protection oven gloves, use the discount code, SAB15 at checkout, or head over to their website using the link below.
In the interests of honesty, I do still use my fabric oven gloves most of the time. What can I say, old habits die hard…

I bought these guineafowl oven gloves at the giftshop at Cape Point Nature Reserve in 2022. I didn’t know it at the time, but 10 hours later, I would be engaged to my best friend 💜.
A burn hint: if you, like me, do manage to burn yourself, immediately run it under cold water. Then take a fingernail-sized blob of coconut oil and rub it into the burn. This helps so much!
Divide and Conquer
Once your bread has finished baking, as hard as it is, you need to wait at least 30mins before slicing it.
Trying to slice a fresh sourdough with a blunt or below average bread knife is nigh on torturous so make sure you have a good bread knife!
My husband bought me my bread knife from Victorinox.
While not strictly-speaking necessary, a good chopping board is a great investment. I got mine at a Christmas market in Köln from IG: @komodoholz.


